How to Connect with WiFi
A WiFi connection turns your Android or iOS tablet into a wireless graphics tablet for your Windows, Mac, or Linux computer, with nothing tying the two together. You pair them once - by scanning a QR code or typing a short code - and from then on connecting takes a single tap.
How WiFi Connecting Works
You no longer need to look up and type an IP address. Connecting happens in two stages:
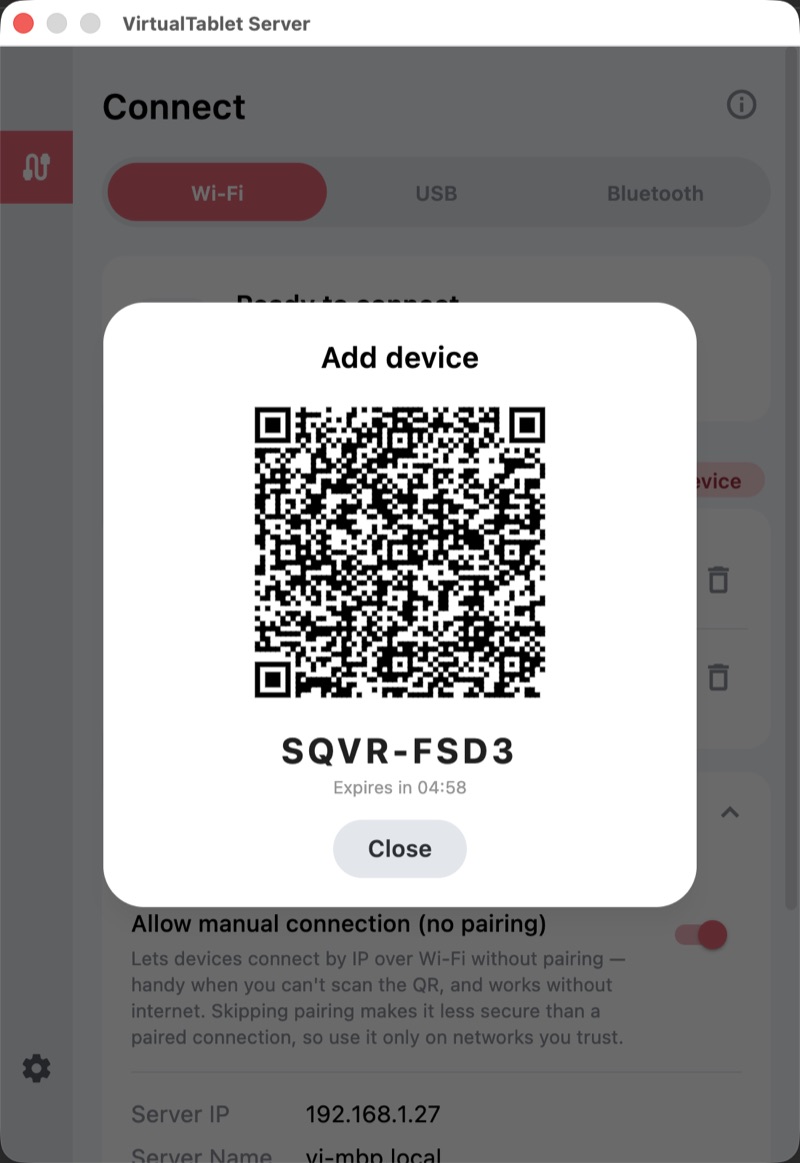
- Pair once. VirtualTablet Server shows a pairing QR code and an 8-character code. Your tablet scans or types it, and the two devices exchange a security key so they recognize each other from then on.
- Connect anytime. Your PC then appears as a card in the app. Tap “Connect” and VirtualTablet finds your PC by itself - it remembers the address that worked last time and searches your local network for the PC.
Pairing is remembered on both sides, so you only do it once per PC. If your router hands out a new IP address, or you move to a different WiFi network, nothing breaks - the app simply looks your PC up again.
What You Need
- VirtualTablet Server running on your Windows, Mac, or Linux computer (download it here)
- The VirtualTablet app on your Android or iOS tablet
- Both devices on the same network (see Step 1 below)
Step 1: Put Both Devices on the Same Network
VirtualTablet only needs the two devices to see each other on a local network - it does not send your drawing over the internet. Pick whichever of these fits your setup.
Option A: Same Router (Recommended)
The simplest option for home or office use.
- Connect your PC to your router. WiFi works, but an Ethernet cable is strongly recommended - it takes the PC off the airwaves entirely, so only your tablet is wireless and lag is far less likely
- Connect your tablet to the same WiFi network
- Make sure both show the same network name (SSID)
Good because: nothing extra to configure, and several devices can pair with the same PC.
Watch out for: performance depends on your router, and busy 2.4 GHz networks can add latency.
Option B: WiFi Tethering (Hotspot)
Creates a direct wireless link between your mobile device and your PC, with no router involved.
- On Android: Settings → Network & Internet → Hotspot & Tethering
- Turn on WiFi Hotspot and note the network name and password
- Connect your PC to that hotspot
Good because: fewer hops usually means lower latency, and it travels well.
- Android Tethering Guide - Detailed tethering instructions
Turn off mobile data (3G/4G/5G) first to avoid data charges. VirtualTablet only needs the local network, never the internet, once your PC is paired.
To do this: enable the hotspot, then go to Settings → Network & Internet → Mobile Network and turn Mobile Data off. The hotspot keeps working for local connections.
Step 2: Show the Pairing Code on Your PC
- Launch VirtualTablet Server on your PC
- Open the Connect tab and select WiFi
- Click “Show pairing QR” - once you have paired something before, the same button sits next to the “Paired devices” list and reads “Add device”
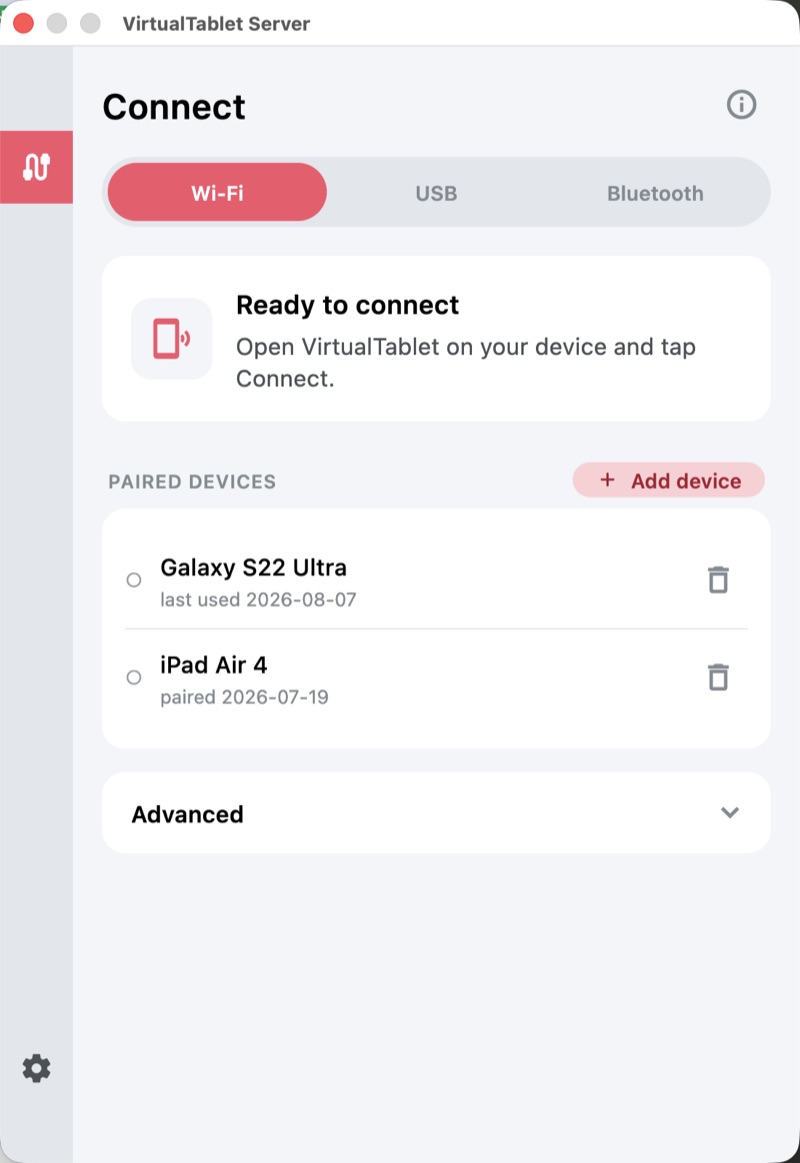
A window opens with a QR code and an 8-character code below it. Keep it open - you will use it in the next step.
Step 3: Pair Your Tablet
Open the VirtualTablet app on your tablet, stay on the WiFi tab, and tap “Add device”.
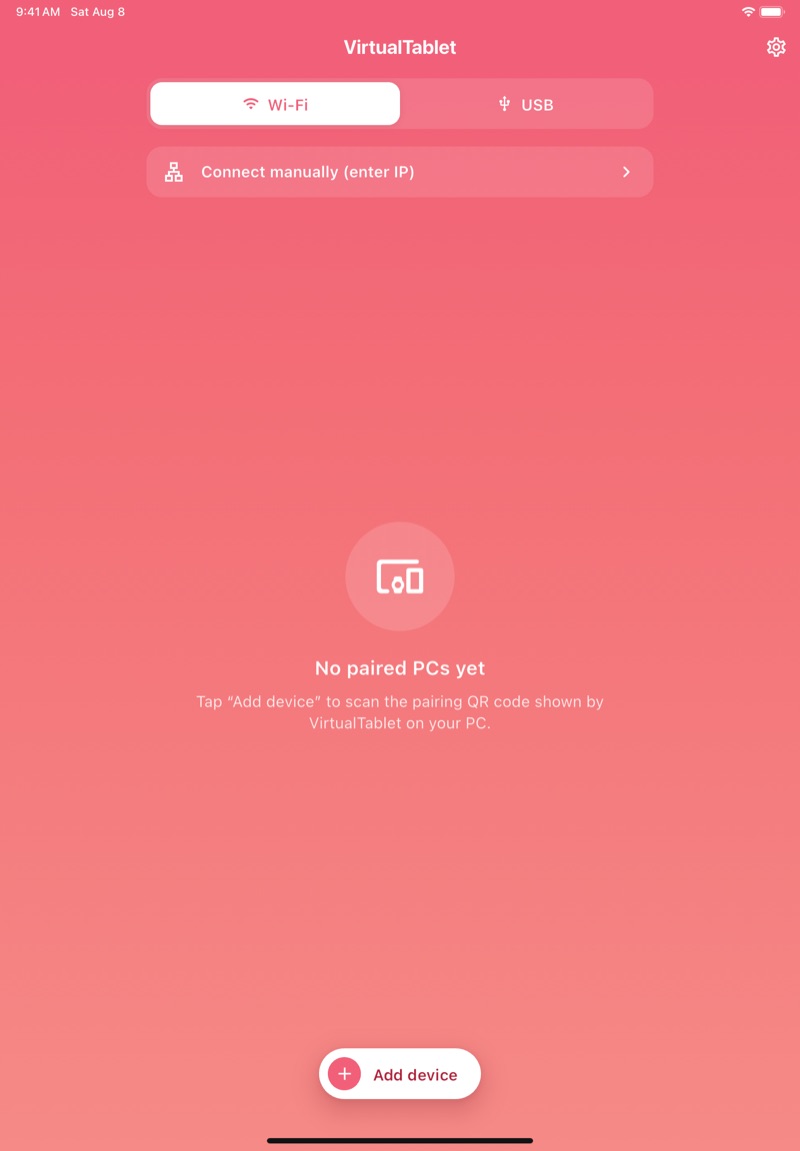
The pairing screen offers two ways to pair. Either one produces the same result, so use whichever is easier.
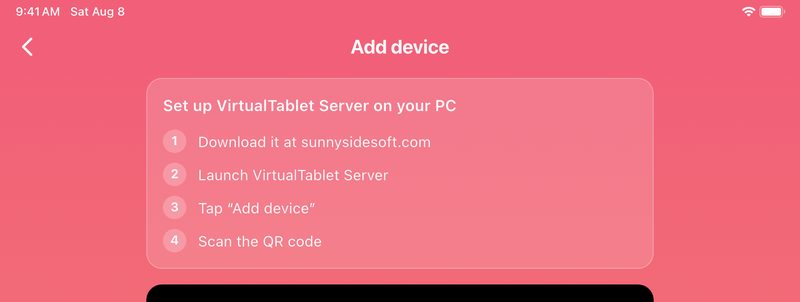
Scan the QR Code
Point your tablet’s camera at the QR code on your PC screen. Pairing starts as soon as the code is recognized - there is nothing to confirm.
Or Type the Code
If your tablet has no usable camera, or the screen is hard to reach, scroll down to “Or enter a code”, type the 8 characters shown on your PC, and tap “Connect”.
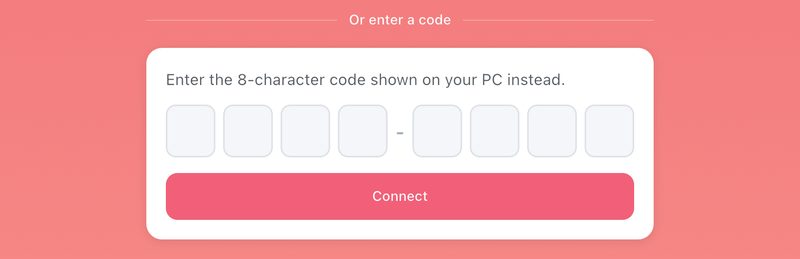
Either way your PC confirms with “Pairing complete”, the pairing window closes by itself, and your tablet appears in the “Paired devices” list on the PC.
Step 4: Connect and Draw
Your PC now shows up as a card in the app. Tap “Connect” on it.
The app takes a moment to locate your PC, then opens the drawing surface. On the PC, VirtualTablet Server switches to its connected view and lists every device that is currently drawing, along with how it is connected.
That is it - your tablet is now a graphics tablet for your PC.
Reconnecting Later
Pairing is permanent, so from now on you only need to:
- Launch VirtualTablet Server on your PC
- Open the app and tap your PC’s card
To undo a pairing, tap the trash icon next to the device in the PC’s “Paired devices” list, or tap “Remove” on the PC’s card in the app. You can pair again at any time.
Advanced: Connect by IP Without Pairing
The old style of connection - typing your PC’s IP address - is still available for cases where pairing is not practical, such as a PC with no internet access and a QR code you cannot scan.
On Your PC
- Open the Connect tab, select WiFi, and expand “Advanced”
- Turn on “Allow manual connection (no pairing)”
- Note the Server IP shown just below it
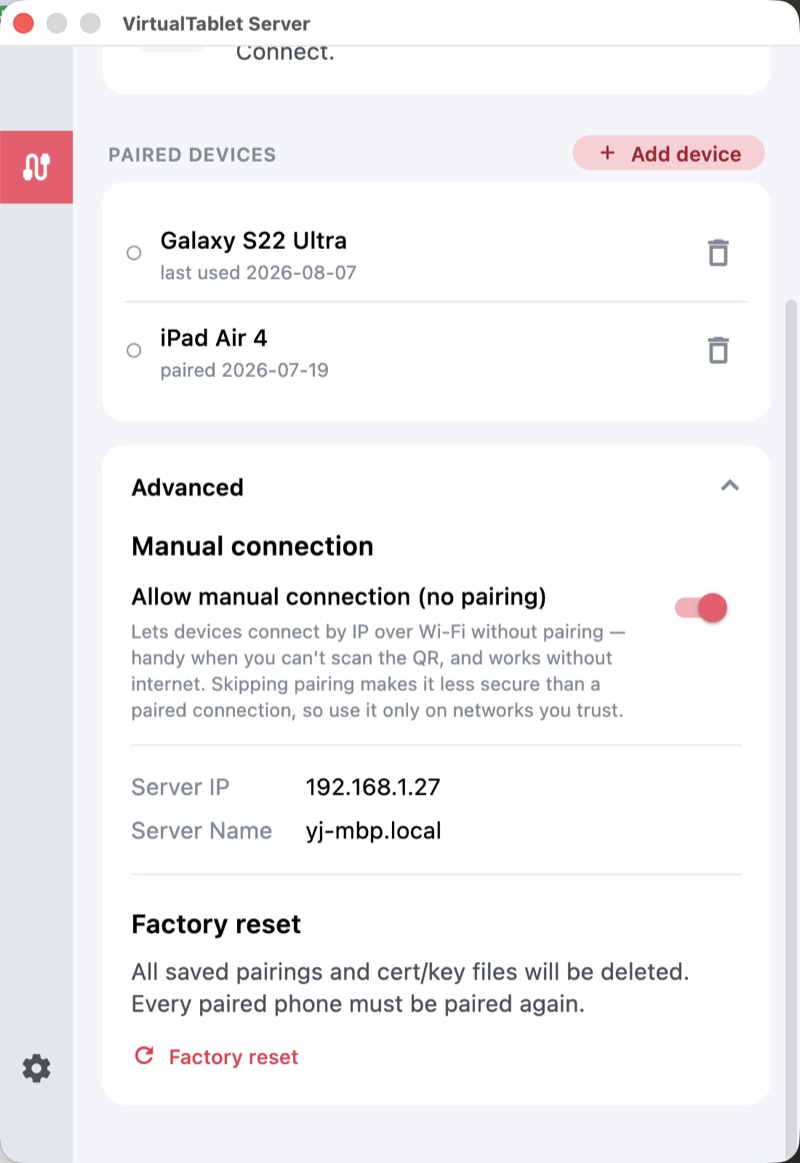
If several addresses could apply, start with one that begins with 192.168. Addresses starting with 169.254 mean
the network did not assign your PC a proper address, so fix that first.
On Your Tablet
- On the WiFi tab, tap “Connect manually (enter IP)”
- Type the IP address from your PC and tap “Connect”
Addresses you have used before are offered as shortcuts, so you only type them once.
The same “Advanced” section also holds Factory reset, which erases every pairing and your PC’s security keys. It is a recovery tool - every paired device has to pair again afterwards - so reach for it only when a connection cannot be repaired any other way.
Tips for a Smooth WiFi Connection
- Use 5 GHz WiFi when your router offers it - far less crowded than 2.4 GHz
- Stay near the router, and keep walls and large metal objects out of the path
- Pause heavy downloads and streaming while you draw
- Avoid guest networks; they usually keep devices from talking to each other, which blocks VirtualTablet
57110 and 57111. The
Troubleshooting guide walks through both.